What you will need:
One A4 paper (150g-200g)
A pair of scissors or a paper cutter
A ruler
A pencil
An eraser
Double sided tape
Raffia ribbon (any other ribbon type will do)
Paper grass (optional)
Of course, a gift !
Any other form of embellishment (tags, "peel-off" stickers, flowers, buttons, pompoms etc... )
Procedure
Cut your A4 paper (at the shortest side) into two. You will then obtain two A5 pages. One will be for the box base and one for the lid.
Doing the box lid

Step 1: Draw two lines diagonally somewhere near the center to obtain the center point (indicated by blue lines). Fold each and every side up to this center point then use your scissor`s handle or your ruler to score properly where it folds to avoid any unaesthetic creases.


Step 2: Cut exactly as indicated in the picture below. Ensure not to undercut nor overcut and place double sided tapes in the areas as shown on both sides .

Step 3: Remove the protective film of your double sided tape to mount the lid accordingly and voila, your lid is ready !

Doing the box base
Step 4: Using your pencil and ruler, draw a line of 0.6 cm approximately on two adjacent sides of your A5 page (at length and width). Cut the page along these 2 lines using your scissor or paper cutter.

Step 5: As from here repeat the same process as per when doing the lid above that are Step 1 - Step 2 - Step 3

Step 6: Erase any pencil marks on both your lid and your base and your box is ready !

Decorative Suggestions !
You may make different colored boxes and interchange base/lid to create contrast. Using a circular paper puncher you can punch a semi-circle as indicated on the lid to facilitate opening of the box ..

Decorate your box with decorative masking tape (also known as washi tape and available in most hypermarkets in Mauritius in stationary corner / Rs25-Rs60), buttons, stickers, seals etc...


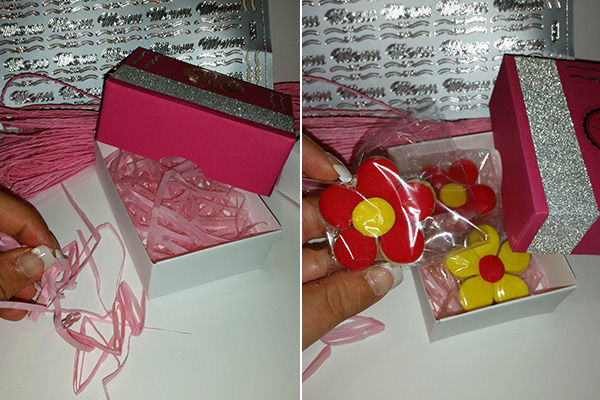
Fill your box with some paper grass before adding your gifts to add this special sexy look ..


Tight your box with raffia ribbon and/or any other types of ribbon to ensure your box stays closed in all positions


f you enjoy using Photoshop like I do, do not hesitate to customize and personalize your box to add your special touch ..
If you need a larger box, you can use 2 A4 pages, one for the base and one for the lid while following the same steps ..
Look for any accessories around you to decorate your boxes. Below I am using some artificial flowers I purchased on Ebay ..


Let your creativity expand while you share love and light ...
Tips:
1. You may use different paper colors for the box and lid
2. If you want a bigger box you can use two A4 pages or two A3 pages etc.. The technique remains the same.
3. If you have a circular cutter or paper punch, you may cut a semi circle at the base in the center of the longest sides of the lid to facilitate opening of the box (Great when using different paper colors for the base and lid)
4. If you enjoy using Photoshop like I do, do not hesitate to customize your box to add your special touch..
5. Using "Peel-Off" stickers in gold or silver really adds in a charming and elegant touch
6. Have fun decorating your boxes !
Thank you for watching !


コメント